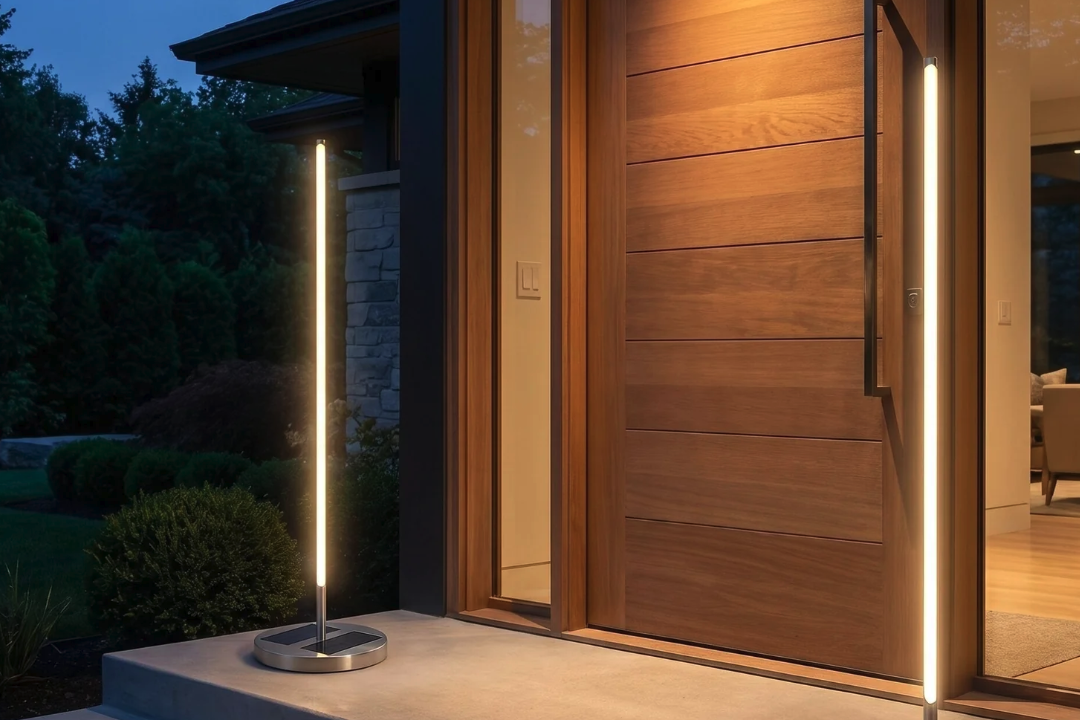


















































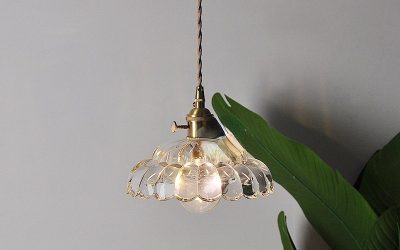


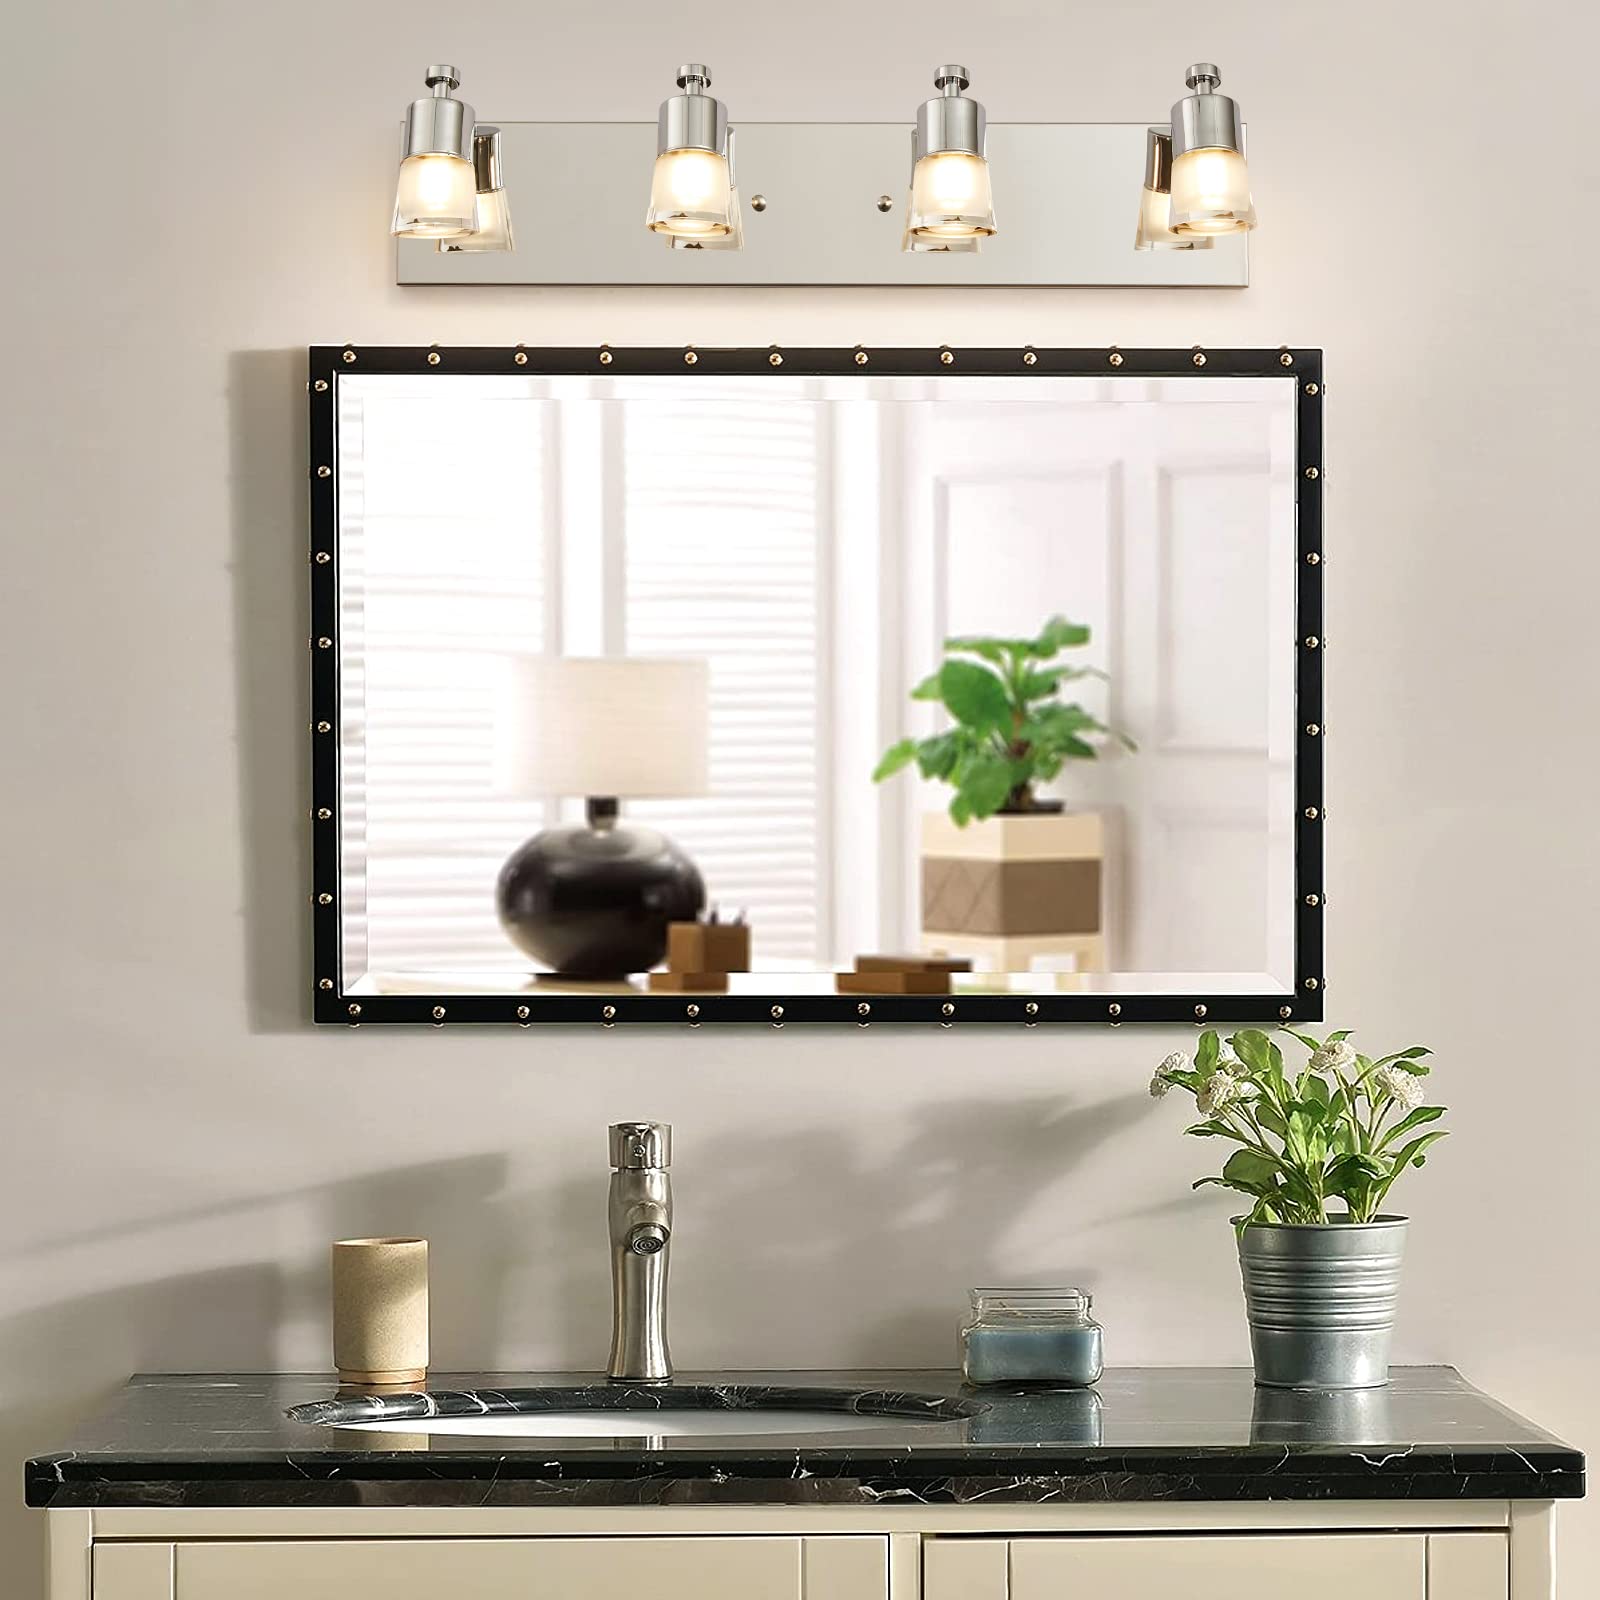
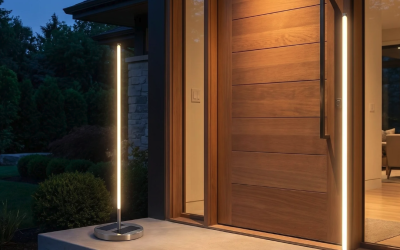
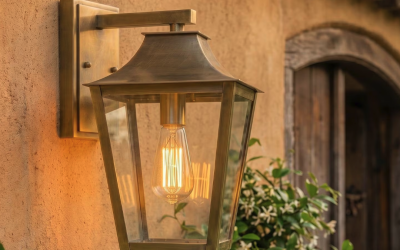







When it comes to outdoor waterproof wall lights, getting them installed correctly is key to them actually lasting. It’s not just about getting light where you need it; it’s about making sure that light keeps working through rain, snow, and everything else nature throws at it, without becoming a headache or a hazard. The right installation means you won’t be replacing them prematurely or dealing with water damage down the line.
Choosing the Right Spot for Your Outdoor Light
Picking the perfect spot isn’t just about aesthetics; it’s crucial for the light’s performance and longevity. You want to maximize its benefit while minimizing its exposure to extreme conditions where possible, or at least ensuring the installation can handle those conditions effectively.
Considering Exposure to the Elements
Think about where the light will get the most direct hit from rain, wind, and sun. A light under an eave will generally last longer than one fully exposed on an open wall. If it has to be in a very exposed spot, that’s where the quality of the light fixture and the diligence of your installation really come into play. Direct sunlight for hours every day can degrade plastics and finishes faster, while constant heavy rain can challenge even the best seals if not installed perfectly.
Planning for Optimal Illumination
Before drilling holes, hold the light up at different heights and locations. Consider what you want to illuminate: a pathway, a doorway, a specific architectural feature, or general ambient light. A light placed too high might cast shadows where you don’t want them, while one too low might not spread its light far enough. Think about the beam angle of your chosen fixture – some are narrow spotlights, others are wide floodlights. This impacts the effective placement significantly. Also, consider light pollution for neighbors; you don’t want your bright new light shining directly into their bedroom window.
Accessibility for Maintenance
Even waterproof lights might need a bulb change (if not integrated LED) or a quick wipe-down over time. Position the light where you can safely reach it with a ladder if needed. A light mounted ten feet up on a sloped roofline might look great, but it will be a nightmare to service. Keep future you in mind; making maintenance easy means it’s more likely to actually happen, extending the life of your fixture.
Preparing for a Secure and Watertight Installation
Proper preparation is half the battle won. This phase ensures that your light not only stays put but also remains completely sealed against moisture from day one. Skipping steps here almost guarantees issues down the road.
Power Considerations and Safety First
Always, always, always turn off the power at the breaker before you start any electrical work. Verify it’s off with a non-contact voltage tester. If you’re unsure about working with electricity, especially outdoors, it’s always best to call a qualified electrician. Outdoor wiring needs to be robust and adhere to local electrical codes. Make sure the circuit you’re connecting to can handle the wattage of your new light, especially if you’re adding multiple fixtures. Overloading a circuit is a fire hazard.
Gathering the Right Tools and Materials
You’ll need more than just a screwdriver. Here’s a typical list:
- Safety gear: Work gloves, safety glasses.
- Electrical tools: Wire strippers, needle-nose pliers, non-contact voltage tester.
- Mounting tools: Drill with appropriate bits for your wall material (masonry bits for brick/concrete, wood bits for siding), screwdriver or impact driver.
- Sealing materials: Outdoor-rated silicone caulk or sealant, caulk gun, weather-resistant mounting gasket (often included, but check its quality).
- Fasteners: Stainless steel screws (avoid standard steel as they rust quickly outdoors), wall anchors appropriate for your wall type (plastic anchors for brick/concrete, toggle bolts for hollow walls).
- Other: Level, measuring tape, pencil, utility knife.
Having everything ready before you start saves multiple trips back to the toolbox or hardware store.
Inspecting and Preparing the Wall Surface
The wall surface needs to be clean, dry, and sound.
- Cleanliness: Remove any loose paint, dirt, or debris where the light will mount. A clean surface allows caulk and gaskets to seal properly.
- Flatness: The mounting surface should be as flat as possible. If it’s uneven (e.g., deeply textured stucco), you might need to use extra sealant or even a custom spacer to create a flush mounting point for the fixture’s gasket.
- Existing holes/damage: If you’re replacing an old light, inspect the existing holes. If they’re too large or damaged, you might need to repair them or choose a new mounting location slightly offset. For example, wood rot around an old fixture needs to be addressed before a new one goes up.
The Watertight Mounting Process
This is where your preparation pays off. A methodical approach to mounting ensures a durable, waterproof seal that protects the light’s internal components from the elements.
Attaching the Mounting Bracket Securely
Most outdoor wall lights come with a mounting bracket that attaches to the electrical box or directly to the wall.
- Leveling: Use a level to ensure the bracket is perfectly horizontal or vertical, depending on the fixture’s design. This isn’t just for aesthetics; it can affect how water drains from the fixture.
- Fasteners: Use only stainless steel screws for outdoor applications. Standard steel will rust, weakening the mount and staining your wall. If mounting into masonry, drill pilot holes and use appropriate wall anchors that provide a secure grip. For wood siding, ensure screws penetrate into studs or substantial blocking. Don’t overtighten, but make sure it’s snug and doesn’t wiggle.
Wiring for Outdoor Environments
Outdoor wiring demands extra attention to detail to prevent short circuits and corrosion.
- Wire stripping: Strip insulation carefully, exposing just enough bare wire to make a good connection. Too much exposed wire increases the risk of accidental contact; too little makes a weak connection.
- Connections: Use outdoor-rated wire nuts. Many pros will wrap wire nut connections with a good quality electrical tape to add an extra layer of moisture protection, especially in very wet environments. Ensure the connections are tight and secure. No loose wires should be present.
- Grounding: Always connect the ground wire (usually bare copper or green) from the fixture to the ground wire in the electrical box. This is a critical safety feature that protects against electrical shock.
- Tucking wires: Carefully tuck all wires neatly back into the electrical box. Avoid pinching wires as you push the fixture into place, which can damage insulation and create a hazard.
Applying the Gasket and Sealant Effectively
This is perhaps the most critical step for waterproofing.
- Gasket placement: A good outdoor light fixture will come with a rubber or foam gasket. This gasket should be placed between the back of the fixture and the wall. It’s designed to create the primary seal against moisture. Ensure it’s positioned correctly and not twisted or pinched.
- Caulking: Once the fixture is mounted and tightened (but not overly so, as you don’t want to distort the gasket), apply a continuous bead of outdoor-rated silicone caulk around the top and sides of the fixture where it meets the wall.
- Crucial detail: Do not caulk the bottom edge. Leaving the bottom unsealed creates a weep hole. If any moisture does manage to get behind the fixture (e.g., through a micro-fissure in the caulk, or condensation), it needs a way to escape. Sealing the bottom traps this water inside, leading to corrosion and fixture failure.
- Smooth finish: Use a wet finger or a caulk tool to smooth the caulk bead for a neat, professional appearance and a better seal. Allow the caulk to cure fully according to the manufacturer’s instructions before exposing it to heavy rain.
Post-Installation Checks and Maintenance for Longevity
Installation isn’t truly done until you’ve confirmed everything is working as it should and planned for its future care. A few simple steps here can dramatically extend the life of your outdoor lighting investment.
Testing the Light and Observing for Issues
Once all wiring is complete and the fixture is securely mounted, and you’ve backed away from the immediate workspace:
- Restore power: Flip the breaker back on.
- Initial function test: Turn on the light. Does it illuminate? Does it operate as expected (e.g., photocell sensor activating at dusk)?
- Electrical issues: Listen for any buzzing, observe any flickering, or notice any strange smells. If anything seems off, immediately cut power and recheck your wiring connections. Don’t leave a potentially faulty connection energized.
- Physical inspection: Visually check the fixture. Is it sitting flush against the wall? Is the caulk bead smooth and complete (except for the bottom)? Does it look sturdy?
Regular Cleaning and Inspection Schedule
Even waterproof lights benefit from periodic checks and cleaning.
- Cleaning: Dust, cobwebs, pollen, and even insect nests can accumulate on the fixture and around the lens. A gentle cleaning with a damp cloth every few months can maintain light output and prevent debris from trapping moisture. Avoid abrasive cleaners that can damage finishes or gaskets.
- Seal inspection: At least once a year, visually inspect the caulk bead around the fixture. Look for any cracks, peeling, or signs of degradation. Temperature fluctuations and UV exposure can cause caulk to break down over time. If you see any compromised areas, re-caulk them promptly.
- Fastener check: Occasionally, gently test the fixture’s stability. If it feels loose, check the mounting screws and tighten them if necessary. This is especially important in areas prone to high winds or vibrations.
Addressing Minor Issues Promptly
Don’t let small problems become big ones.
- Flickering/Intermittent operation: If your light starts flickering or only works sometimes, it could be a sign of a loose wire connection, a failing bulb (if not integrated LED), or a problem with the fixture itself. Address it quickly before it causes further damage.
- Water ingress: If you ever notice condensation inside the light fixture or water streaks on the wall beneath it, it means your waterproof seal has been compromised. Immediately turn off the power, remove the fixture, and thoroughly inspect the gasket and caulk. Find the source of the leak and re-seal it. This is where that unsealed bottom edge becomes crucial for allowing drainage, preventing water from building up.
- Corrosion: If you notice rust spots on the fixture or around its mounting hardware, it’s an indication that the materials used weren’t entirely suitable for outdoor conditions or that water is getting in. While some minor surface rust on screws might just be cosmetic, widespread corrosion can compromise the fixture’s integrity and electrical safety.
Understanding IP Ratings and Their Importance
IP ratings are your best friend when selecting outdoor lights. They provide an objective measure of how well a fixture is protected against solids (like dust) and liquids (like water). Ignoring them is like buying a raincoat without checking if it’s actually waterproof.
Decoding the IP Rating System
An IP (Ingress Protection) rating consists of two digits.
- First Digit (Protection against solids): Ranges from 0 to 6.
- 0: No protection.
- 1: Protected against solid objects over 50mm (e.g., accidental touch by hands).
- 2: Protected against solid objects over 12.5mm (e.g., fingers).
- 3: Protected against solid objects over 2.5mm (e.g., tools, thick wires).
- 4: Protected against solid objects over 1mm (e.g., most wires, screws).
- 5: Dust protected (limited ingress of dust permitted, but won’t interfere with operation).
- 6: Dust tight (no ingress of dust).
- Second Digit (Protection against liquids): Ranges from 0 to 9K.
- 0: No protection.
- 1: Protected against vertically falling water drops (condensation).
- 2: Protected against vertically falling water drops when enclosure tilted up to 15 degrees.
- 3: Protected against spraying water (e.g., rain at an angle).
- 4: Protected against splashing water from any direction.
- 5: Protected against water jets from any direction (e.g., hose).
- 6: Protected against powerful water jets (e.g., strong hose).
- 7: Protected against immersion up to 1m for 30 minutes.
- 8: Protected against continuous immersion under conditions specified by manufacturer (e.g., deeper than 1m).
- 9K: Protected against high-pressure, high-temperature jet sprays.
Recommended IP Ratings for Various Outdoor Locations
Different outdoor zones require different levels of protection.
- Sheltered areas (under deep eaves, porch ceiling): Minimum IP44. This protects against splashing water and objects larger than 1mm. It’s generally sufficient if the light isn’t directly exposed to rain or jets of water.
- Exposed areas (open walls, fences, garages): Minimum IP54 or IP65.
- IP54: Dust protected, protected against splashing water. Good for areas that get direct rain but not constant powerful jets.
- IP65: Dust tight, protected against water jets. This is a very robust choice for most exposed exterior walls, able to withstand heavy rain and even a direct spray from a garden hose during cleaning.
- Ground-level fixtures, driveways, areas prone to heavy splashing/jets: Minimum IP66 or IP67.
- IP66: Dust tight, protected against powerful water jets. Ideal for areas that might be hit by sprinklers or pressure washers.
- IP67: Dust tight, protected against immersion up to 1 meter. Crucial for in-ground lights or those placed very low where temporary puddles might form.
Choosing the appropriate IP rating prevents you from buying an under-protected fixture that will fail quickly, or an over-protected one that costs more than necessary for its location. Always match the IP rating to the anticipated exposure level for long-term durability.